
To add this gadget is very easy, just follow these steps below:

How to Add the Recent Posts Widget to Blogger
Step 1. From your Blogger Dashboard, go to Layout > click on Add a Gadget link
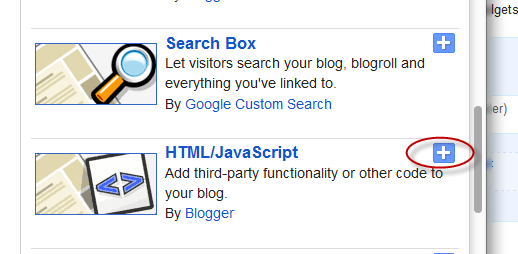
Step 2. From the pop-up window, scroll down and choose HTML/JavaScript
Step 3. Inside the empty box, add the following code:
<div class="eggTray">Note:
<script src="http://helplogger.googlecode.com/svn/trunk/listbadge.js">{"pipe_id":"1a6640e2a78b2c6e736f2220529daae5","_btype":"list",
"pipe_params":{"URL":"YOUR-BLOG/feeds/posts/default"},
"hideHeader":"false","height":"500","count": 8 }</script>
<noscript>Your browser does not support JavaScript!</noscript></div>
<style type=text/css>
.eggTray {margin:10px 0px;padding:0px;}
.ybr li {border-bottom:0px #cccccc dotted; padding:0px 0px 10px 0px!important;}
.pipesTitle {padding-top:0px;}
.pipesDescription {display:true;}
.ycdr, .ycdr a {color:#999999;}
.widget .popular-posts ul {padding-left:0;}
</style>
- Replace YOUR-BLOG with the url of your site/blog (ex: http://helplogger.blogspot.com) and pay attention to have no forward slash symbol "/" at the end of the url
- To disable the scroll bar, remove the number 500
- By default, this widget is set to display a maximum of 8 recent posts. To change this number, replace the number 8 with the number of posts that you want to appear
- if you want only the posts titles, change true to none and "0" from padding-top:0px with 10
Step 4. Save your widget. And you're done!
 Manthan dudeja is the founder of Helplogger, He is a young Blogger ,Web Designer, Graphic Designer and owns his popularity to the fact that he posts genuine contents to his blog and believe in good rituals. He is young and truly innovative in his work At helplogger he mostly writes about How to blog tips, Tech news, Gadget Reviews etc.


0 comments:
Post a Comment